The following steps were taken to deploy a Node server app and a React client app onto Heroku, both written in TypeScript:
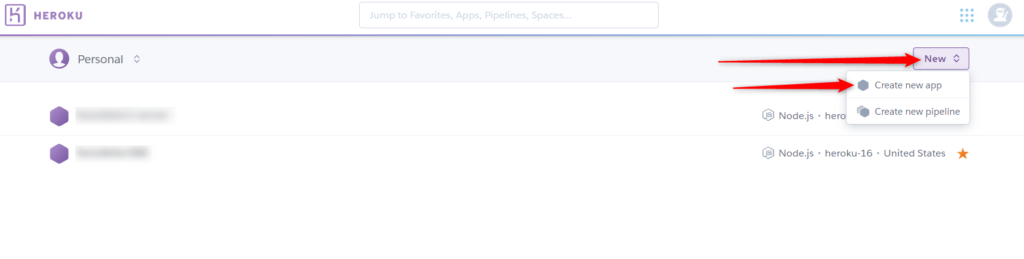
- Create new Heroku app
- Link the app with a Github repo
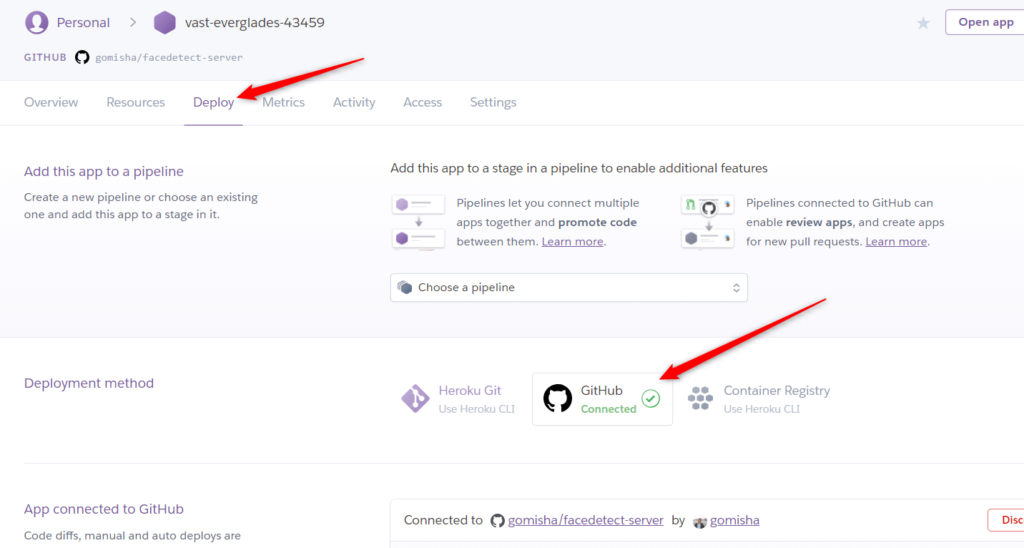
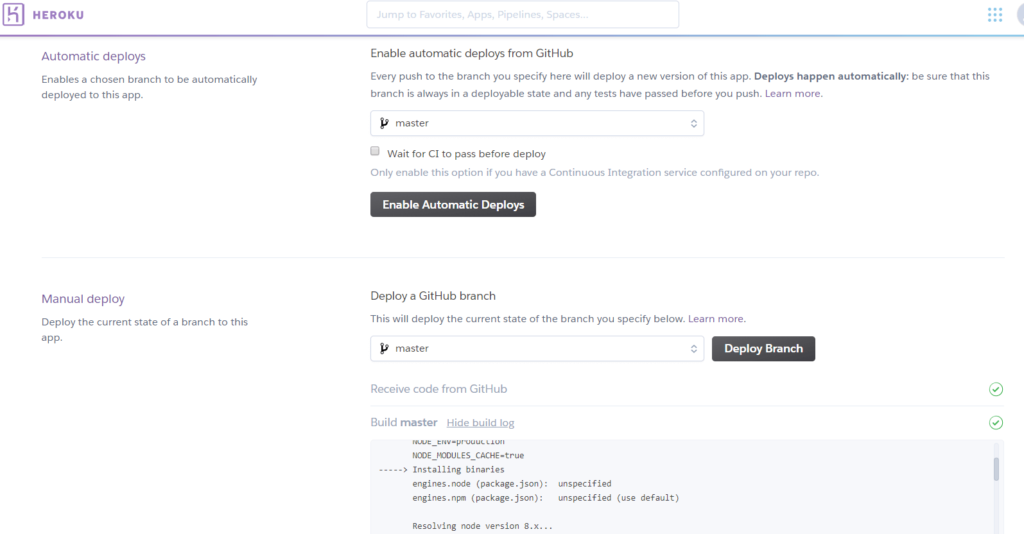
- Choose whether to have automated or manual deployments. Automated deployments will deploy whenever you push to the Github repo. For manual deployments, you need to tell Heroku when to deploy your app from Github. I went with manual deployments and created a deploy branch in Github to push all my deployment specific updates to that I later merged into my master branch.
Deployment Gotchas
- In package.json, create a post install script to compile TypeScript files to JavaScript. Also, update the “start” script to run node instead of nodemon:
"scripts":{
   "start":"node src/server.js",
   "postinstall":"tsc"
},
- Make sure your package.json file specifies ALL packages, including ones that you have installed globally. For example, I had nodemon installed globally so it wasn’t in my package.json so I had to install it locally. I had to do the same thing with the typescript package which was installed globally. I was getting this error on Heroku when deploying my app:
nodemon: not found
- You can test the deployment by copying your source TypeScript files, package.json, tsconfig.json and any other version controlled files into a separate folder and running:
npm install --production
This will install all node package as specified in package.json and try and run your app.
- on the server, change the start script to use node instead of nodemon:
"scripts":{ "start": "node src/server.js", } - @types/* npm packages should be installed as regular dependencies in package.json, NOT as dev dependencies. This is because your build (tsc) will need to run on Heroku so the type definition npm packages will be necessary in order to build your TypeScript project.
- TypeScript should be installed as a local package. For the server app, Heroku will need to build your app with the tsc TypeScript compiler as a post install step. In my case, I had it installed globally, so I just added this line to the list of dependencies in package.json:
"typescript": "^2.9.2"
- Node version should be specified explicitly in package.json:
"engines":{
   "node":"10.5.0"
},
- update the server port to be dynamically read from the PORT environment variable. If you just have a hard coded port value to listen on, you will get this error:
Error R10 (Boot timeout) -> Web process failed to bind to $PORT within 60 seconds of launch
To fix the issue, update the server this way:
const app = express();
...
let listenPort = process.env.PORT || 3000;

app.listen(listenPort, ()=> {
  console.log("server running on port "+ listenPort);
})
You will now get a message like this from the Heroku logs after redeploying:
server running on port 4697
Note that this is NOT the port to access your app from a browser or Postman. You should use the normal URL (without specifying a port so it will use the default port 80):
https://vast-everglades-43459.herokuapp.com/
NOT this way:
https://vast-everglades-43459.herokuapp.com:4697/
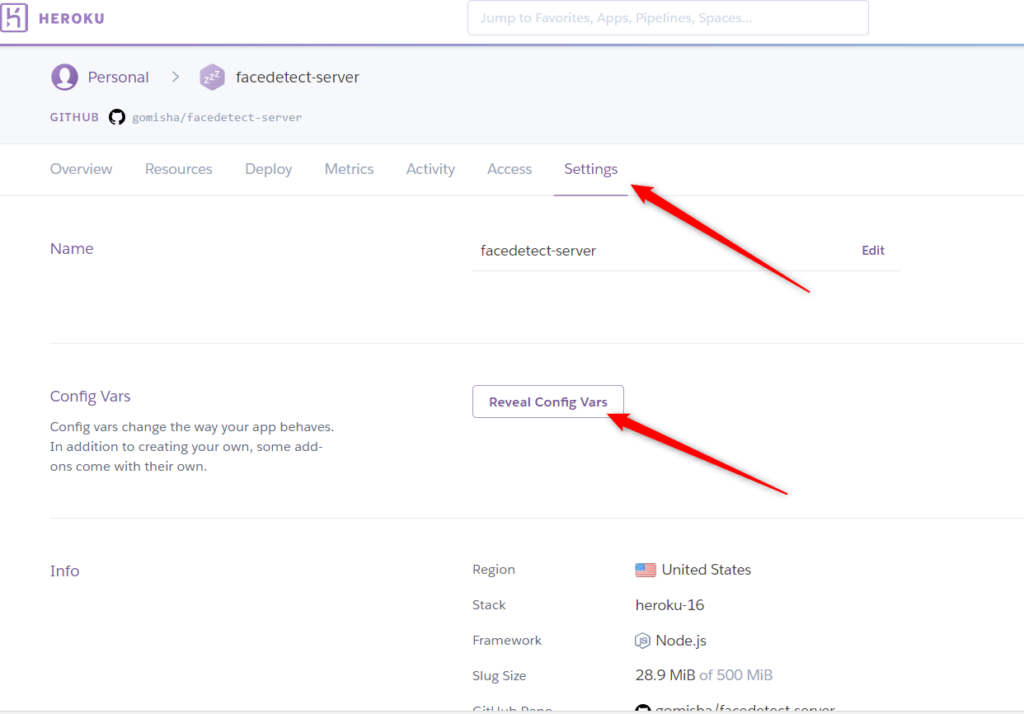
Runtime configuration variables – Server
Create runtime environment variables on Heroku as required for things like connecting to the database, API keys, etc.
The variables can then be accessed in your app like this (assuming there’s an environment variable called FD_CLARIFAI_KEY):
const CLARIFAI_KEY = process.env.FD_CLARIFAI_KEY as string
Setting the environment variables locally on my Windows machine, I just run a batch file which contains this:
SET FD_CLARIFAI_KEY=1234567890abcdefg
Module Import Errors
Getting an error message of Module not found: Can’t resolve… means there is a letter casing issue. This is because Heroku is run on Linux where folder casing matters but if you develop locally on Windows, folder casing isn’t an issue.
Runtime environment variables – React Client
To add environment variables to a React app built with create-react-app, you will need to add a .env file to the root of your project and define your environment variables there. That will be your default (production) environment variables definition. But then you can have a local file called .env.local to override values from the default.
Deploying React client apps built with create-react-app
For React apps built with create-react-app, the following change needs to be made that’s different when deploying a server app:
- in package.json, remove the postinstall script, so there is no script to run after installation
Useful Heroku Commands
- heroku logs – View the log as it’s being updated – very useful for debugging your app:
heroku logs --tail -a app-name
heroku logs --tail -a vast-everglades-43459
- heroku config – view configuration variables for an app:
heroku config -a app-name
In my case, I did:
heroku config -a vast-everglades-43459
Further Resources
Deploying a Node and Browser Typescript Project to Heroku
Typescript runs strange on heroku (Stack Overflow)
Specifying a Node.js Version (Heroku)
Setting the port for node.js server on Heroku (Stack Overflow)
Heroku Runtime Principles – Web Servers
Heroku Configuration Variables
Create react app cannot read environment variable after build (Stack Overflow)
Adding Development Environment Variables In .env (create-react-app)